
.svg)
eLearning Audio Recording Best Practices


September 21, 2018

6 min read


Great sounding audio makes a big difference in the quality of an eLearning course. It’s difficult to listen to even a short audio clip when the sound quality is bad.
However, many of us are faced with ever-shrinking project budgets and look for ways to reduce development costs. Recording audio in-house is a good way to reduce expenses, but there are some basics you need to consider or risk losing quality to the point of negative returns on your savings.
Try not to get overwhelmed by the technical jargon and hardware options. Keep it simple. The basic task at hand is getting the human voice recorded into a digital file. Start there first. Then figure out how to make it better.
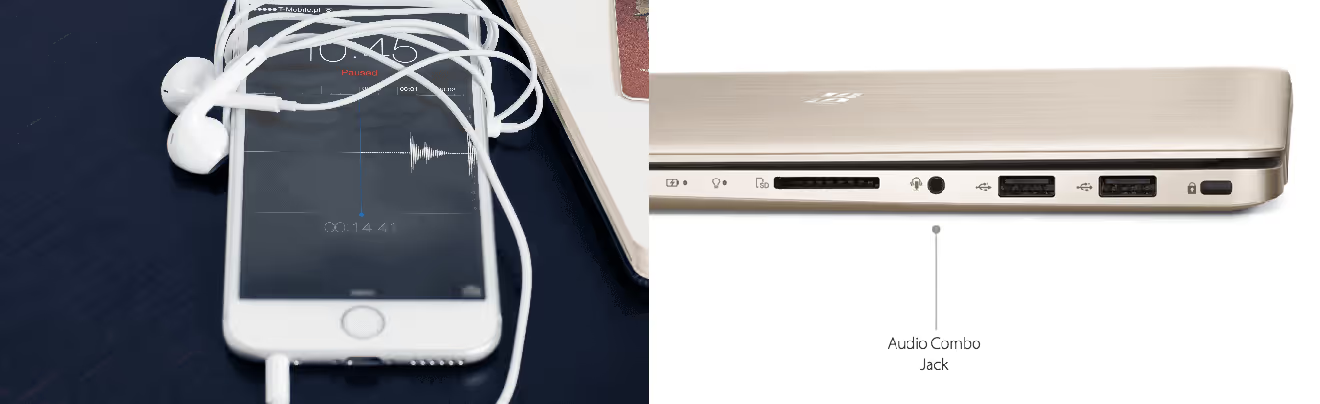
In following our recommendation of keeping it simple, your first best microphone is the one you currently have. Yes, you already have a microphone. If you have a mobile phone or another mobile device, then you have a microphone. If you have a laptop then you have one there as well. All modern mobile devices and laptops come with a built-in mic.
Many will tell you that the built-in mics are bad. They are usually not great, but they are not bad. They get the job done. And you’d be surprised how well they record under the right environmental conditions.
And you know those cool white earbuds that came with your iPhone? That little volume control switch on the wire is also a microphone. And a pretty good microphone at that. And in a pinch, they get the job done.
And what’s your job? Getting the human voice recorded into a digital file.
In the world of building training content, done is better than great. Do not let the absence of a “better” microphone halt your productivity.
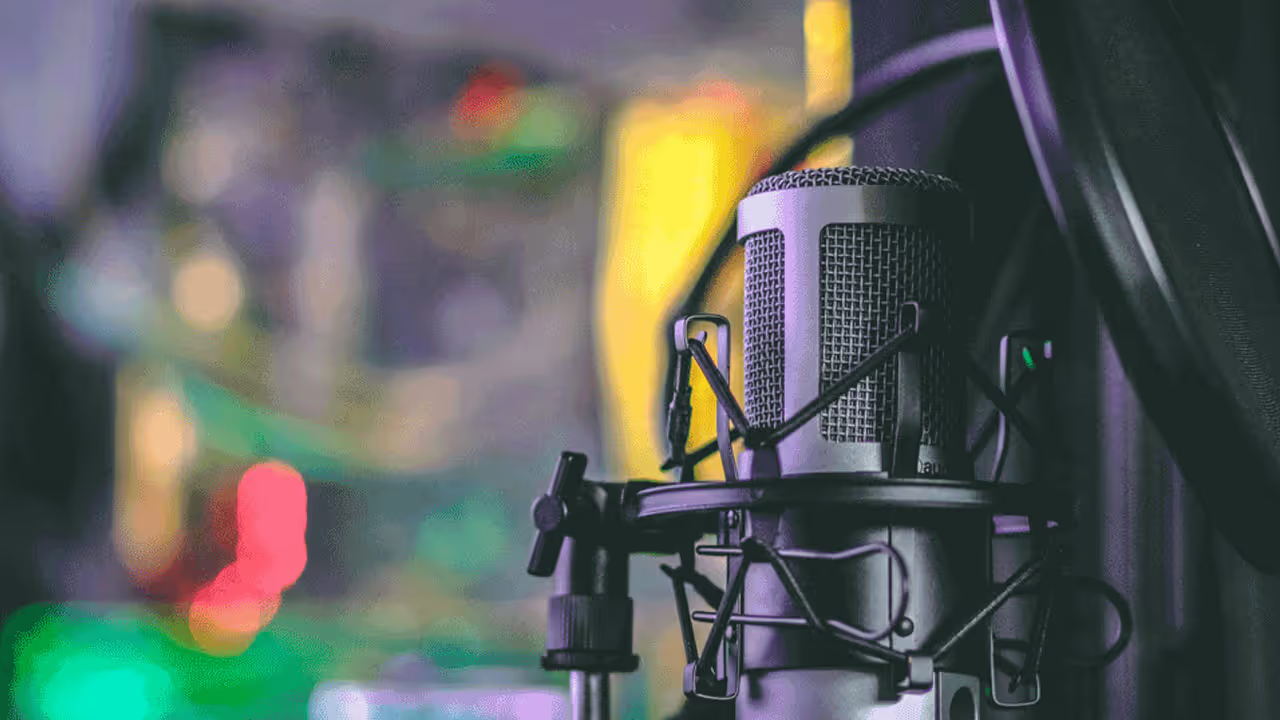
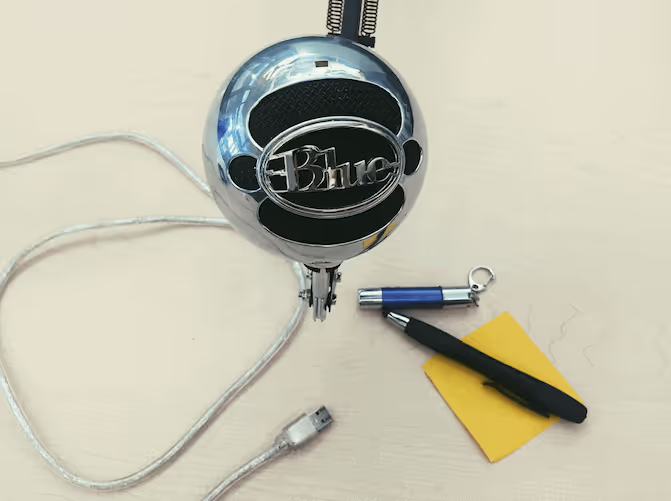
When you’re tired of just “getting it done”, and you begin to run into the limitations of the built-in mic, it’s time to step up to a USB microphone. This realization may only take a few hours or a few days, but don’t think of it as time wasted. You’ve learned a lot in this time. And, hopefully, you completed a project or two along the way.
It’s important to note that the term USB defines the connector, not the microphone. What you’re buying is a higher quality microphone that easily plugs directly into your computer via the USB connector.
USB microphones were made specifically for the type of work you’re doing at a very reasonable cost. Some really good USB microphones sell for well under $100.
The mic alone is a great improvement in sound quality, but it's even better if you can control the environmental noise when you are recording. The best option is a soundproof booth. However, few of us have the luxury or the budget for a pro-quality sound room.
But the idea here is simple. Maximize your voice and minimize all environmental sounds that your microphone can “hear”. Remember previously we mentioned how the built-in mic can perform quite well under the right environmental conditions? This is how you control those conditions to maximize the quality of your recording. Even if you’re recording with a low-quality mic.
You're doing 2 things at the same time:
Keep it simple: Good sound in. Bad sound out.
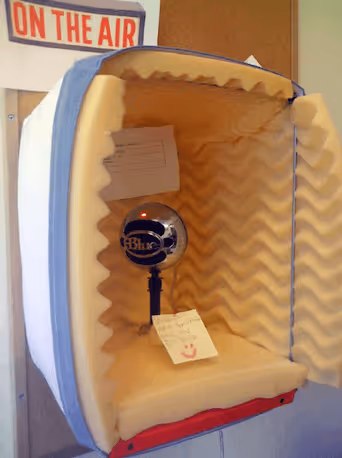
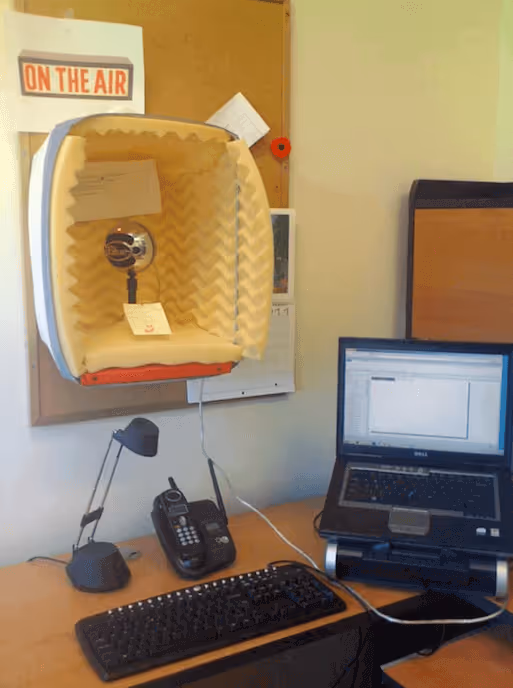
Professional booths use acoustic foam all over the room to help remove the echo effect and give the cleanest sound quality possible. You can make your own DIY mini-booth to improve the quality without transforming your whole office.
In this instance a soft-cover laundry basket was used and lined with foam purchased at a department store—the foam was actually a mattress pad, which had a variety of cones and wiggles. This will dampen the sound nicely.
If there is enough foam left over, consider making a sombrero-style hat to wear while recording too! That would cut out even more room sound. You may not want to consider this if you don’t have a private room where you can close the door... and if you don’t mind what your co-workers think of you wearing a sombrero with your head stuck in a box!
As you can see from the photo, place the mic inside with foam tucked around its legs. Pin the script to the back wall so you can see it while recording without having to hold the paper. Even the slightest movement of the paper can be picked up by the mic.
The cost of the “booth” was under $20. A search on Google for a phrase like "mini recording booth" shows several sites with similar plans.
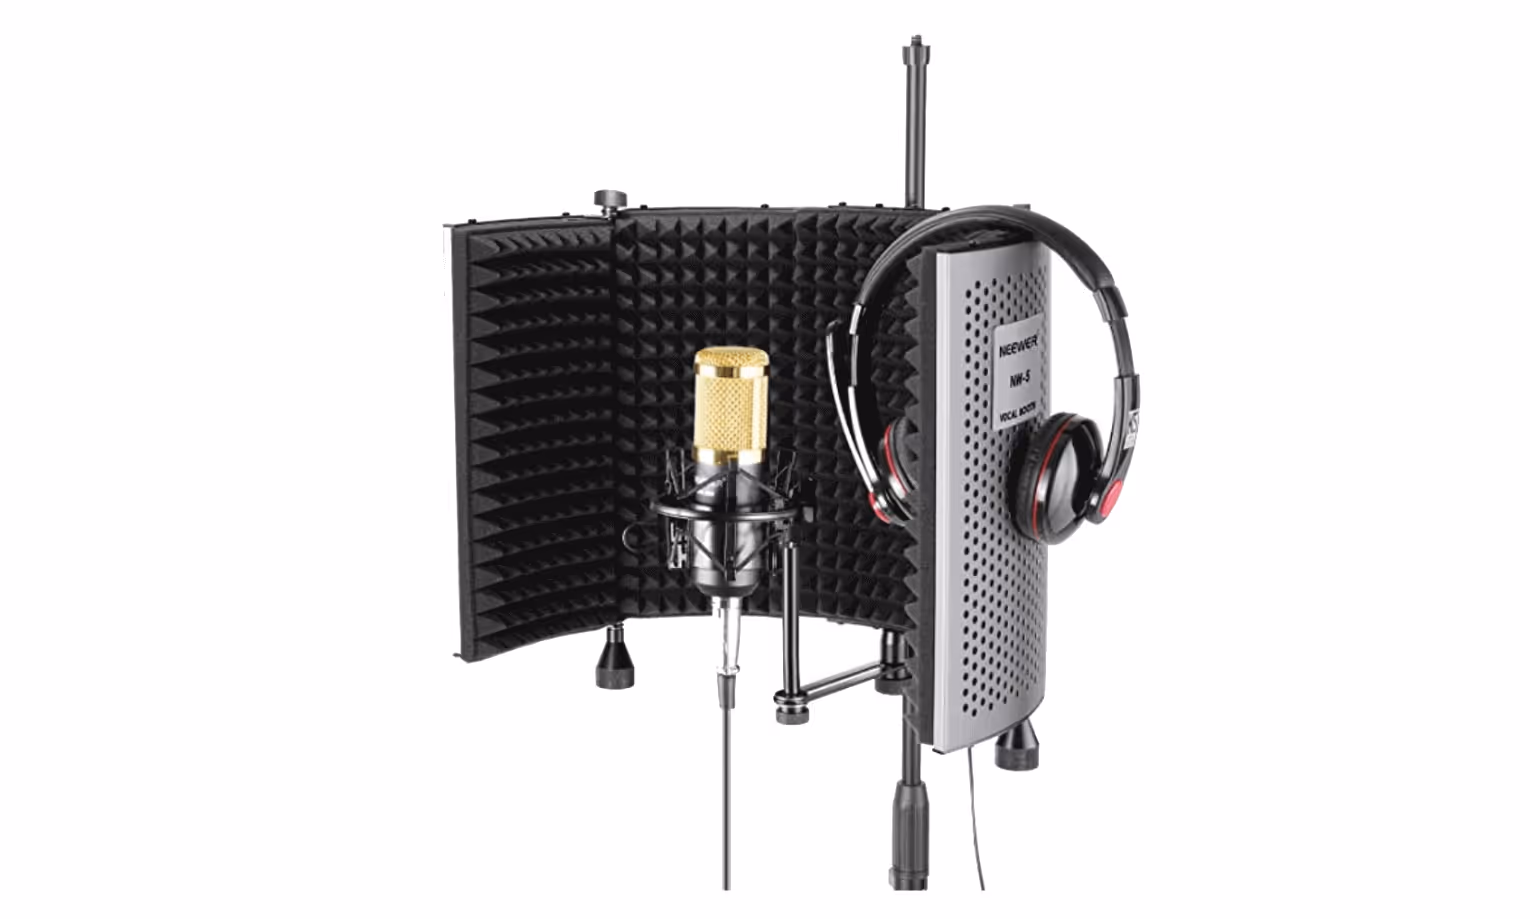
If you have some extra budget you can invest $100 in a professional mini-booth like this from Neewer.
You could also add a pop screen, a simple device that keeps the hard breath of air from words that start with a plosive consonant like the letter “p”. Pop screens are inexpensive to buy or search online for plans to make your own (use a nylon stocking and an embroidery hoop!). There are even a couple of YouTube videos that show the process. Search for “pop screen” or “pop filter”.

I finally made a pop filter after I had to re-do recordings a few times to eliminate pops. Following is an image of an audio track. It was recorded twice, the first time without a pop filter and the second time using a DIY filter. Note the spikes the first time where the voice-over artist pronounced a “p”:
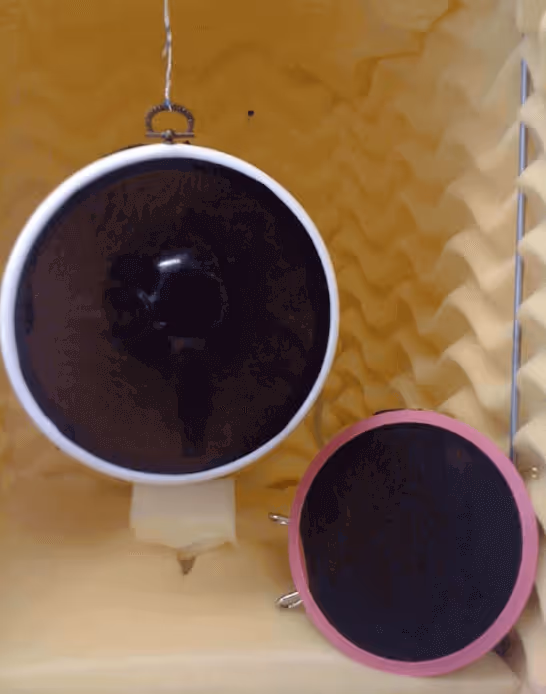
Here is an image of the DIY pop screen. It hangs in front of the mic. Secure it with a couple of elastic bands to prevent it from swinging. The second pop filter was made using a spring embroidery hoop. Both of these hoops and the nylons needed to make them were less than $10.
And the simplest thing you can do is prevent interruptions.
Print out a sign that says, “ON THE AIR”. It also has a retro vibe. This is more effective than you might think. And after 2 or more interruptions you will begin to understand what a time saver it can be. And your colleagues will walk a little lighter in the hallway as they pass. Trust us. It works.
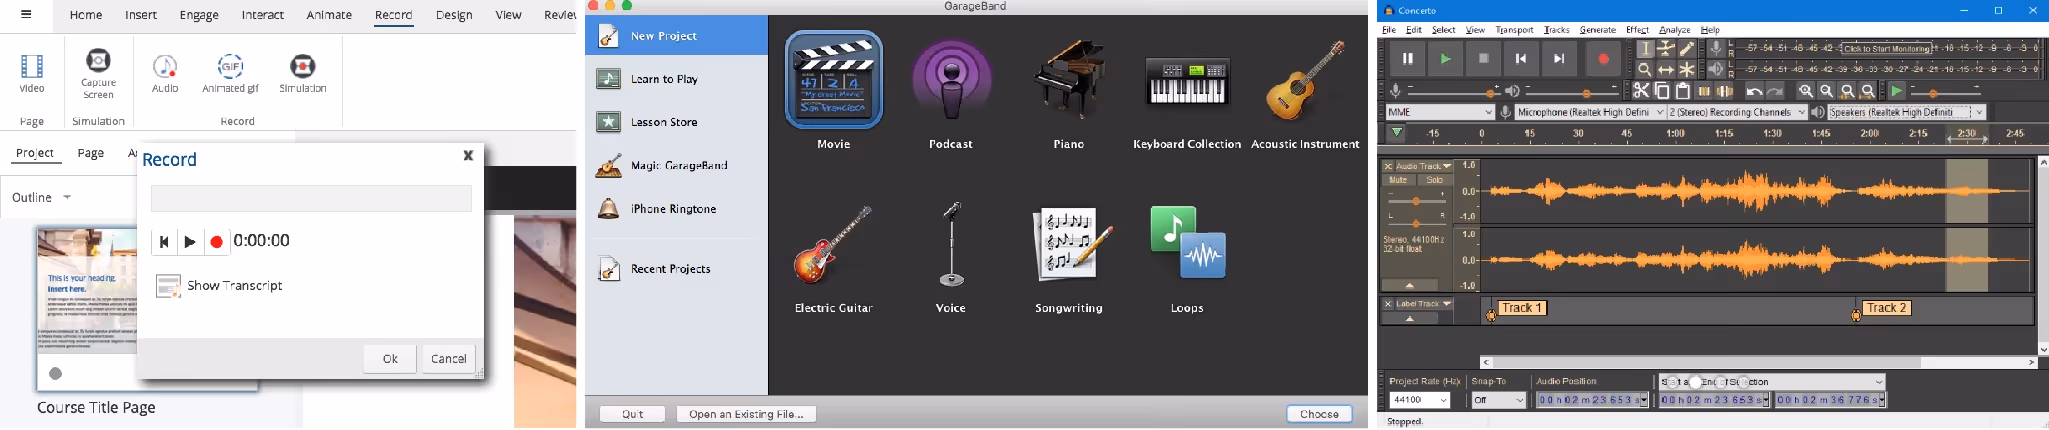
You can record directly into dominKnow using the Record Narration tool.
If you want to do more cutting, mixing, or filtering, use one of the many recording tools available. There are a couple free audio recording and editing programs we’ve used (and you can find many others on the web):
Once you’re happy with your recording, you’ll export it as an MP3 file and import it into dominKnow.
Recording the human voice is a skill. And like any other skill, it requires practice. The more you practice the better, and faster, you will become at recording audio. Just remember to keep it simple, get a few recordings done quickly, and learn from them.
.avif)
Instructional Designers in Offices Drinking Coffee (#IDIODC) is a free weekly eLearning video cast and podcast that is Sponsored by dominknow.
Join us live – or later in your favourite app!
Help your learners better in any moment of need with dominKnow!
Work better, together with
dominKnow | ONE